Fixing the 'The selected package is missing the following modules' error in Dynamics 365 F&O
LCS shows an error when a module of the environment is missing from the deployable package. When to build a complete package and when to use ModuleToRemove.txt.

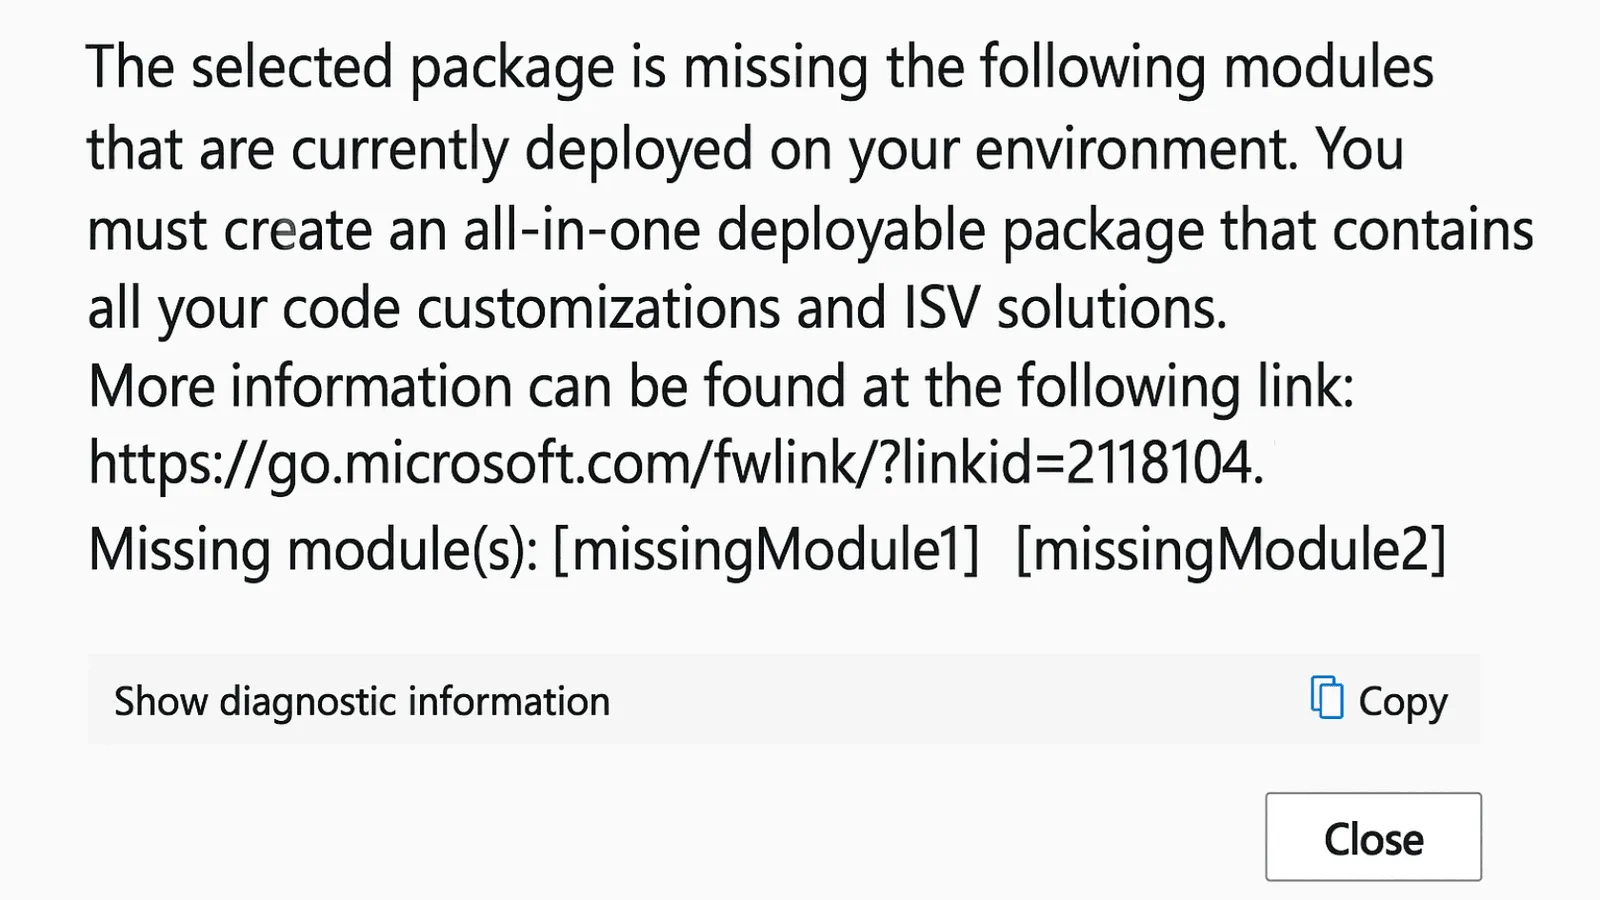
You want to apply a deployable package to a Dynamics 365 Finance and Operations (F&O) environment and Lifecycle Services (LCS) shows this error.
The selected package is missing the following modules that are currently deployed on your environment. You must create an all-in-one deployable package that contains all your code customizations and ISV solutions. More information can be found at the following link: https://go.microsoft.com/fwlink/?linkid=2118104.
Missing module(s): [missingModule1] [missingModule2]
The names missingModule1 and missingModule2 stand for your own modules.
Why this error happens
The package does not contain every module that is installed in the environment. An update overwrites what is in the environment with what is in the package, so a module that is not in the package would be uninstalled.
LCS checks the package before the update starts, so nothing has been deployed yet. If LCS lets you continue in a sandbox, the module is uninstalled there and that update cannot be promoted to production.
The error has two causes and they need opposite fixes:
- A module was left out by mistake. For example the package was created in Visual Studio with only some modules selected. Another example is a module of an independent software vendor (ISV) that came as binaries and is missing from source control or from the packaging step of the pipeline. Build a complete package and apply it.
ModuleToRemove.txtwould uninstall a module that is still in use. - A module was left out on purpose. You deleted one of your own modules or stopped using an ISV solution. Use
ModuleToRemove.txtonly in this case.
The text of the message asks for the first fix and its link opens Microsoft’s page about the second. One message can name modules of both kinds, so decide for each name.
Before you uninstall a module
Check two things first:
- No other module references it. Remove all references to and from the module and build the modules that you changed. They are deployed inside an all-in-one package and never alone.
- It is not a Microsoft module. LCS shows a validation error on a package that tries to remove one.
Assume that the tables of the module, the fields that it added to other tables and the data in them are lost. Export what you still need first.
How to fix it using ModuleToRemove.txt
ModuleToRemove.txt is a text file inside the package that names the modules to uninstall.
-
In Notepad or another plain text editor write the names of the modules that you want to remove, one name on each line and without the square brackets.
missingModule1 missingModule2 -
Save the file as
ModuleToRemove.txt.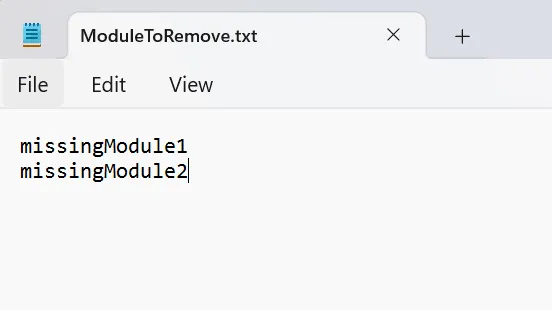
-
Build the all-in-one package with every module that stays and none of the modules in the file.
-
Open the zip file of the package without extracting it and drag
ModuleToRemove.txtinto itsAOSService\Scriptsfolder. A package that was extracted and zipped again can fail the validation in LCS with a message aboutHotfixInstallationInfo.xml. -
In the Asset library of the LCS project upload the package on the Software deployable package tab. Wait until the validation has finished and read any warning it shows.
-
Open the environment details page of a sandbox and select Maintain > Apply updates. Enter a name for the update, select the package and select Apply. The sandbox is down while the package is applied.
-
When the status is Deployed again, select History > Environment changes to see the update and its logs. Then sign in to F&O and check that the pages of the module are gone and that the processes that used it still work.
-
For production, select the update in the history of the sandbox and then Mark as release candidate. A self-service production environment takes the update from the sandbox and not the package. The update carries the Microsoft version of the sandbox together with your package, so the sandbox must run the version that you want in production.
-
On the environment details page of the production environment select Maintain > Update environment. Select the sandbox and the update, set Downtime start and select Schedule.
Environments managed in the Power Platform admin center
An environment that is managed in the Power Platform admin center has no Asset library and takes its code as a unified package, so these steps do not apply to it. Version 3 of the Create Deployable Package task in Azure DevOps builds that package and has an optional field for a comma-separated list of X++ modules to delete. Try the field in a sandbox first.
Which of the two cases was yours? Let me know on LinkedIn or through the contact page.
Links
- https://learn.microsoft.com/en-us/dynamics365/fin-ops-core/dev-itpro/deployment/uninstall-deployable-package
- https://learn.microsoft.com/en-us/dynamics365/fin-ops-core/dev-itpro/dev-tools/aio-deployable-packages
- https://learn.microsoft.com/en-us/dynamics365/fin-ops-core/dev-itpro/deployment/updateenvironment-newinfrastructure
- https://learn.microsoft.com/en-us/dynamics365/fin-ops-core/dev-itpro/deployment/create-apply-deployable-package
- https://learn.microsoft.com/en-us/dynamics365/fin-ops-core/dev-itpro/dev-tools/manage-runtime-packages
- https://learn.microsoft.com/en-us/dynamics365/fin-ops-core/dev-itpro/dev-tools/pipeline-create-deployable-package
- https://learn.microsoft.com/en-us/dynamics365/fin-ops-core/dev-itpro/lifecycle-services/asset-library
- https://community.dynamics.com/article/KA-23583
- https://learn.microsoft.com/en-us/power-platform/developer/unified-experience/finance-operations-pipelines